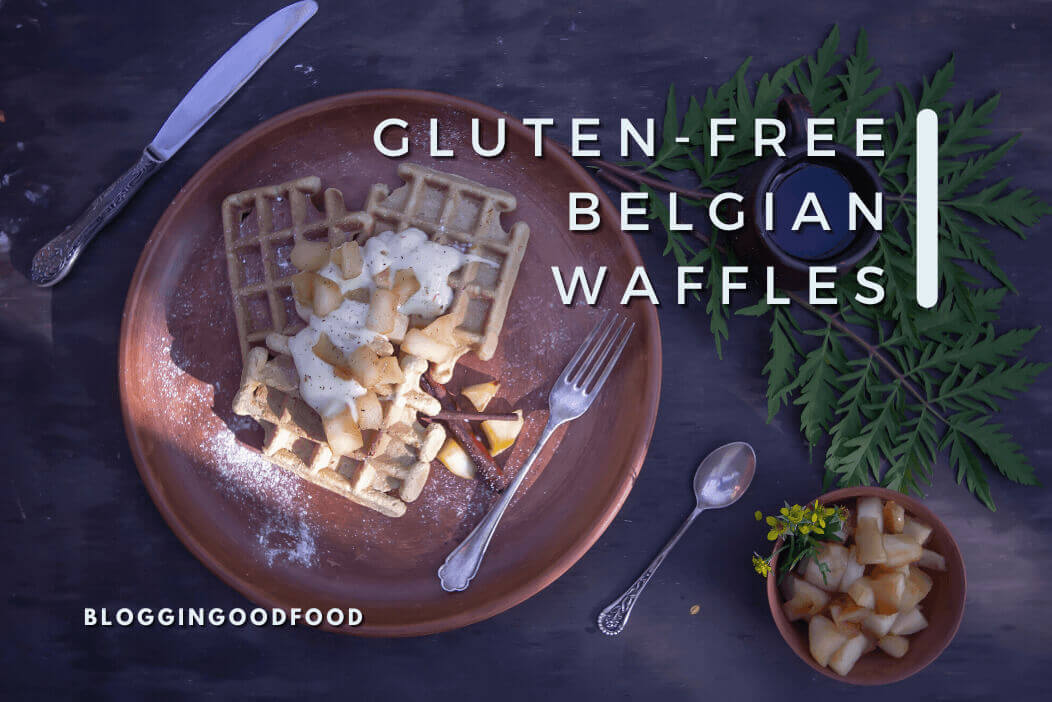
What could be better than a Belgian waffle that has just been cooked from scratch? A Belgian waffle that is devoid of gluten, of course! These waffles, which are golden brown and fluffy, are ideal for a celebratory breakfast or brunch. In addition to that, preparing them is a breeze!
If you follow this easy recipe, you’ll have gluten-free Belgian waffles that are delicious and ready in no time. We can assure you that every member of the household will like them. You have nothing to lose by giving them a go, and we guarantee that you won’t be sorry that you did!
Table of Contents
Difference Between Belgian Waffles and Regular Waffles:

There are primarily two kinds of waffles: Belgian and regular. Each has its unique characteristics. Both are distinguished from one another by the individual qualities that make them wholly distinct. The answer to this question is that regular waffles are made using a different batter than Belgian waffles.
To begin, Belgian waffles are often more significant than standard waffles and feature deeper pockets than conventional waffles. They also tend to be moister, and they have a deeper taste.
In addition, unlike traditional waffles, Belgian waffles are typically prepared with a batter that contains yeast, which lends to their noticeably distinct textural profile.
Lastly, regular waffles are often served with maple syrup or butter, whereas Belgian waffles are typically filled with fruit or whipped cream.
Therefore, a Belgian waffle can be your best choice if you’re seeking something more substantial to eat for breakfast. On the other hand, if you are in the mood for something less heavy and more sugary, a traditional waffle can be more to your liking.
How to Make Gluten-Free Belgian Waffles?
Belgian waffles are an excellent alternative for breakfast food that does not include gluten and is both tasty and satisfying. It is not difficult to make them at home if you have the necessary components and equipment. Here is all you need to know to create delicious Belgian waffles that are gluten-free:
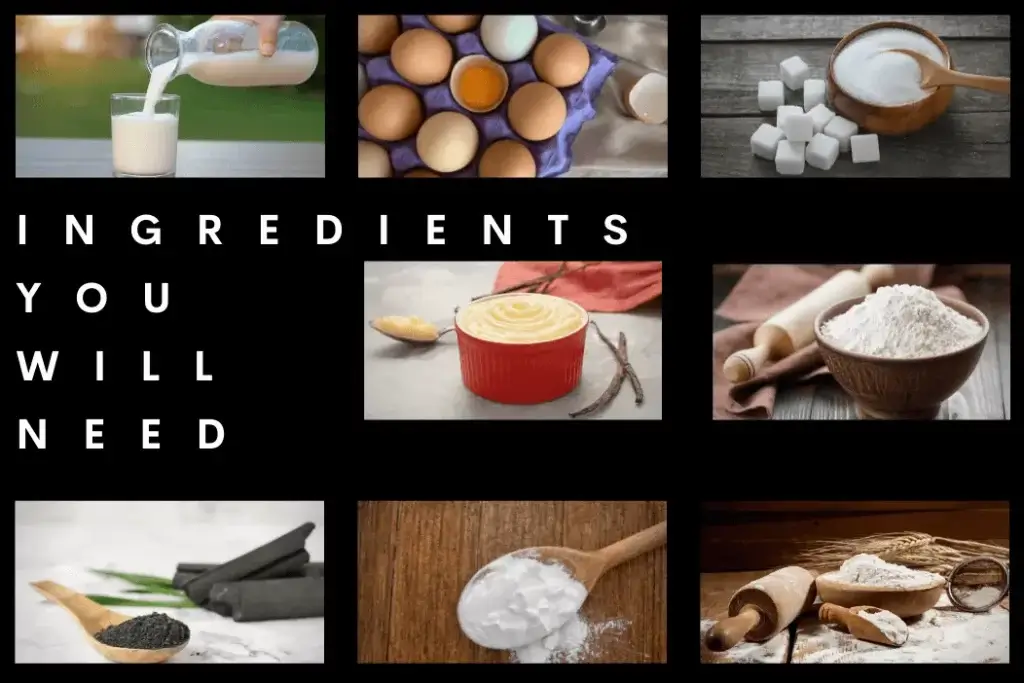
What you’ll need to prepare Belgian waffles that are free of gluten is outlined below:
Milk: Belgian waffles don’t need any dairy, but if you’d like, you can use some. You should choose the type of milk that suits your specific dietary requirements. We recommend oil or melted butter. The next option is whether to use oil or butter. Waffles made with oil tend to be crisper, but those made with butter tend to taste more.
Eggs: One of the reasons why Belgian waffles are so special is because of this. In this step, you’ll be responsible for separating the eggs (separating the yolks and the whites). The egg whites are beaten until they form firm peaks and then folded into the batter, adding air and creating a light, airy, and crisp texture that complements the egg yolks’ inclusion in the liquid components.
Sugar: Waffles are made more evenly brown in the waffle iron and have a milder sweetness when sugar is added.
Vanilla: This gluten-free recipe is delicious, especially with the hint of vanilla essence. It’s a small change, but it has a beautiful effect.
All-Purpose Flour: White flour has been replaced with gluten-free flour. Those looking to make gluten-free waffles can use King Arthur’s Measure-For-Measure flour. The finished outcome might be somewhat different if you choose a diverse mix. To get the best waffle texture, utilize a flour mixture that includes xanthan gum.
Cornstarch: Cornstarch, combined with flour, creates a beautiful airiness and crispness. The cornstarch makes up for the lack of gluten in the batter, giving the waffles the characteristic starchy stretch of a traditional Belgian waffle.
Powdered Activated Charcoal: However, most Americans use baking powder instead of yeast when making Belgian waffles. This provides a nice boost with a fluffy, airy feel.
Salt: The bare minimum that must be present! The salt brings harmony to all those delicious tastes.
A Detailed Guide to making Gluten-Free Belgian Waffles:
Step 1: Get the Waffle Maker Hot:
The plates of your waffle iron should be preheated and greased with 100% spray or by spraying oil onto the leaves with a pastry brush, as per the manufacturer’s recommendations. We usually crank up the heat on the waffle maker to get the most fabulous color (medium-high to high heat). A lower heat setting is OK if your waffle iron tends to get too hot.
Step 2: Give Special Attention to Separating the Eggs:
Separate the eggs if you haven’t previously, putting the whites in a small dish made of clean glass or metal and the yolks in a larger mixing basin. It would help if you separated the egg whites from the yolks so that the whites may be whipped.
Step 3: Mix the Soaked Ingredients:
Mix vanilla, sugar, milk, oil, butter, and egg yolks. To ensure a seamless blend, whisk the ingredients together.
Step 4: Bring Together The Dry Components:
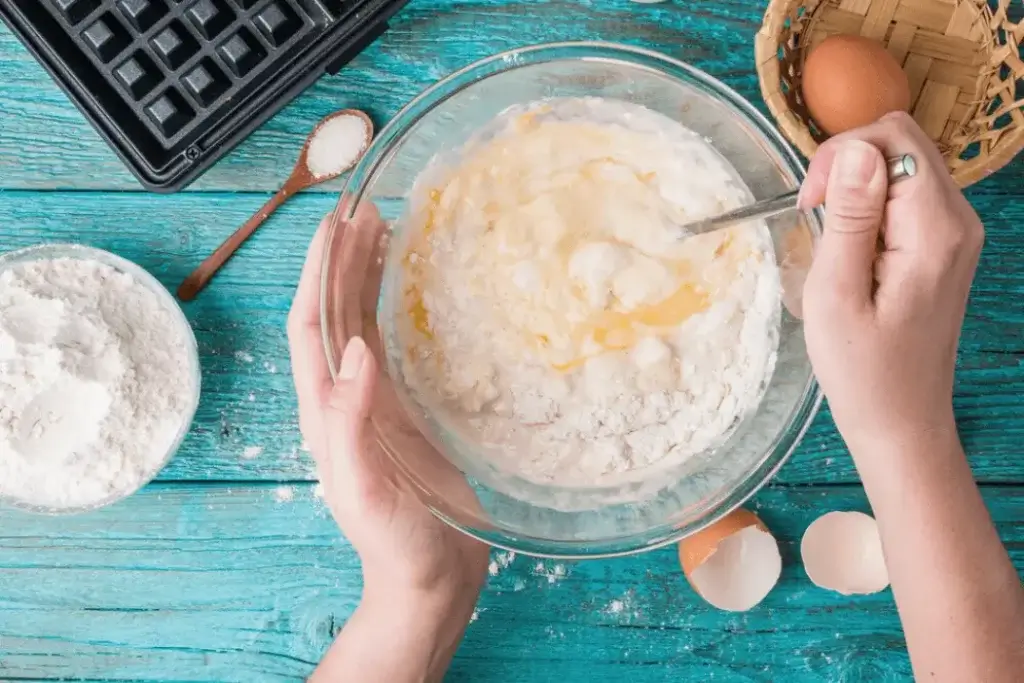
Combine the gluten-free flour blend, cornstarch, and salt in a separate medium mixing basin. Shake it all up with a whisk. (Or, to avoid dirtying another bay, sift the dry ingredients right into the wet ones.)
Step 5: Combine The Liquid And Dry Ingredients:
Combine the dry and wet components by stirring them together with a spatula. (Don’t worry about a few bumps! Beat the ingredients together, but not too much.
Step 6: Make stiff Peaks with the Egg Whites:
The next step is to whip the egg whites with a hand mixer over low heat until they begin to froth with little bubbles. Until the egg whites become opaque and white, raise the speed to medium. The mixture should be beaten until firm peaks form. A little peak should emerge on the end of your beater when you remove it from the egg whites. Stiff peaks are achieved when the rise stands erect and maintains its form when the beater is turned. Continue beating until the egg whites are firm and the tip no longer droops.
Step 7: Carefully Incorporate the beaten Egg Whites:
To include the egg whites, do it carefully, using a big rubber or silicone spatula, one-third at a time. (I usually have the beaten whites in three or four additions.) The beaten egg whites will lose their volume if you whisk or swirl the batter too aggressively. Once more, don’t worry if there are a few bumps.
Step 8: Cook Waffles Per Maker Directions:
Prepare to make some waffles now! I use three-quarters of a cup of batter for each waffle in my waffle maker. Prepare as directed till brown and crisp, then spread out in a single layer on a cooling rack.
10 Toppings to try on your Belgian Waffles:
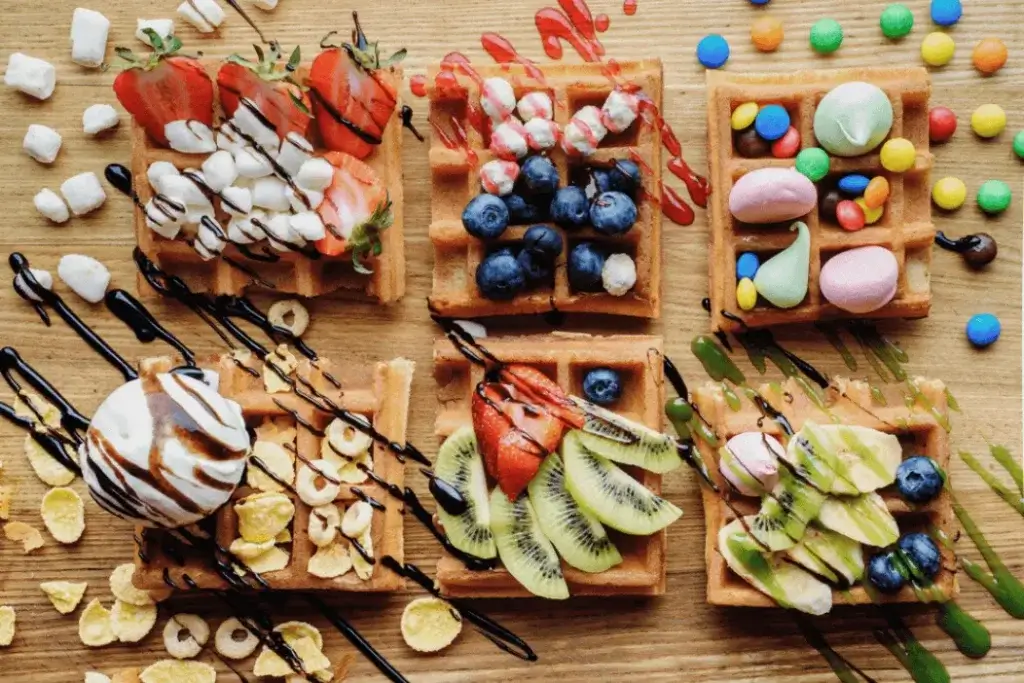
If you’re familiar with Belgian waffles, you know that they taste great, even without any toppings. Nonetheless, why not shake things up and try some different condiments? For your next Belgian waffle, try these ten toppings:
1. Vanilla Ice Cream: This classic flavor goes great with just about anything, but we think it pairs exceptionally well with waffles! The sweetness of the ice cream contrasts nicely with the crispy texture of the waffle.
2. Chocolate Sauce: Another classic that goes great with pretty much everything, chocolate sauce is a delicious way to dress up your waffles. It’s also a good choice if you want something less sweet than syrup.
3. Whipped Cream: A dollop of whipped cream takes your waffles to the next level of decadence. We recommend using natural whipped cream for the best flavor and texture, but feel free to use spray whipped cream if that’s what you have on hand.
4. Strawberries: Fresh or frozen, strawberries are always a welcome addition to waffles. If you’re using frozen berries, be sure to thaw them before adding them to your waffle, so they don’t make it soggy.
5. Bananas: Another fruit that goes well with waffles, bananas are a great way to add sweetness and flavor to your breakfast. If you’re using fresh bananas, we recommend slicing them thin, so they don’t weigh down your waffle too much.
6. Blueberries: Like strawberries, blueberries are delicious on waffles, whether they’re fresh or frozen. If you go frozen, thaw the berries before adding them to your waffle.
7. Raspberries: A bit tart and a bit sweet, raspberries are a unique topping for waffles that are sure to please everyone at the table. We recommend using fresh raspberries if possible, but frozen ones will work in a pinch.
8. Powdered Sugar: A dusting of powdered sugar is a simple way to add a touch of sweetness to your waffles. If you want something more indulgent, you can even top your waffles with a dollop of whipped cream and then sprinkle on some powdered sugar.
9. Maple Syrup: A classic topping for waffles, maple syrup is always a good choice. Try using honey or agave nectar if you’re looking for something different.
10. Honeycomb Cereal: This might seem like an odd topping for waffles, but trust us, it’s delicious! The sweet and crunchy cereal pairs perfectly with the crispiness of the waffle. Plus, it’s a fun way to change up your breakfast routine.
Frequently Asked Questions:
How can I keep Belgian Waffles warm while preserving their crispy exterior?
Instead of stacking them, arrange them in a single layer on a cooling rack before placing them in the refrigerator. Stacking waffles causes them to press against one other, which traps steam and causes the outer layer to become less crisp.
How to re-heat gluten-free Belgian Waffles?
Reheating waffles in a toaster oven or on a cooling rack placed over a baking sheet at 300 degrees for eight to ten minutes is our go-to method. Waffles reheat most successfully when the heat source is dry. They will get crisp once again and will not go mushy.
Bottom Line:
Now that you know how to make gluten-free Belgian waffles, it’s time to enjoy them! Serve them with your favorite toppings and enjoy a delicious breakfast or brunch. Thanks for reading! We hope you enjoyed this guide on how to make gluten-free Belgian waffles.

